Kit Reviews!
Home Page

About Page

Photo Page

Kit Reviews

Guest Book Page

Comanche-3 project

Comanche-3 photos

Big Daddy Cluster Project

The PML "Calisto"


After having money I was excided to buy a new rocket. After alot of searching and decision making I finally decided to get the PML Calisto. It is almost like my IO but a little bit taller. And I was looking for the perfect rocket for a patriotic paint job. The callisto had a wide enough body and perfect fins. This rocket was pretty easy to put together. It took me about a week to put together. Once I was finally finished I then sanded the body for painting. First I primered the whole thing down then sanded it. I did that about three times. I then placed strips of masking tape vertically on the body of the rocket these will be the red and white stripes. I then painted the body red. After that I made about almost 70 little stars out of masking tape. I made them by making a picture of the stars, then I placed and taped wax papper over it, Then I placed the strips of the tape over the stars and cutted them out. Its a pain trying to peel off the wax paper when finished. I placed the stars all over the fins and nose cone. Once finished I then sprayed navy blue spray paint over it. Once bry I peeled off the tape the stars came out perfectly. I was just amased bye that. Then for the final coat I placed a couple coats of gloss over coat. Launch day like always I get as nervous as I can. After preparing my rocket with my uncle I was then ready. Walking up to the RSO table with confedence. Once I got up to the table I then went really nervous again. I believe it was Wedge who inspected my rocket and he passed it and then I got my confedence back again. I then placed it on the pad loaded it up and I used a first fire JR. igniter so I can be sure it will light on the first launch.Once the count down began I got the usual butter flys. Then the count down finished. I saw the motor ignite and I was just happy for that. I was then amased by the perfectly straight flight. I was waiting for the puff very nervously then the puff and chute open. I am very pleased with that rocket. If I know anything I would give this rocket a 10 for experienced people and a 7 for beginners.


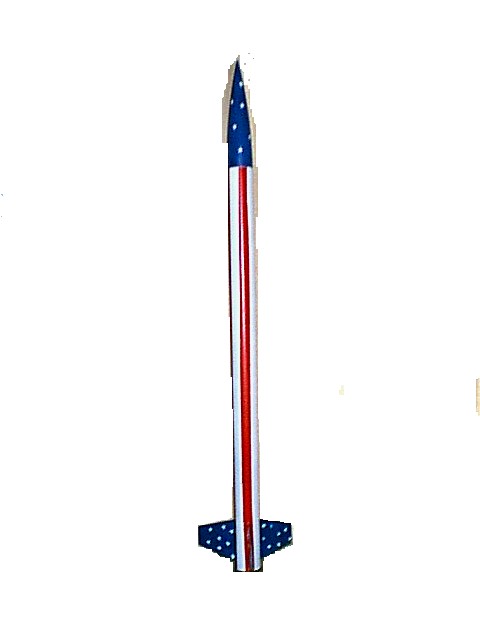
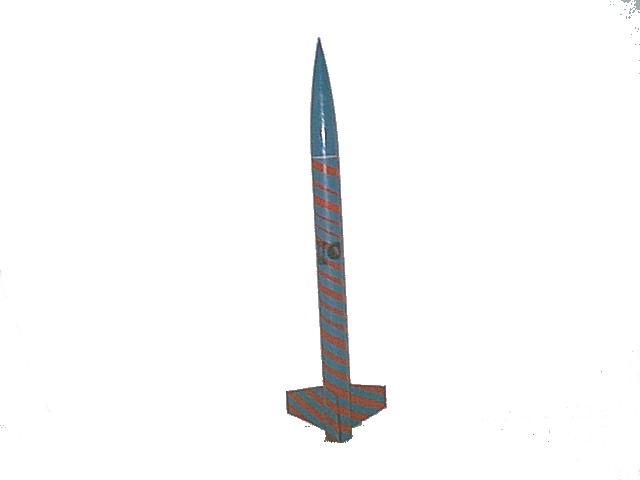
The PML "IO" kit review
The IO was my very first high power rocket that I launched which was bigger than an Estes type kit. I picked this kit up from a vendor at ROC Stock XI. I was so excited that once I got home I started building it immediately. I made sure I built everything perfectly. The building time took me about 2 days. I came over to my uncle's house one day and he he showed me how to put in a motor anchor. He used two wall anchors and two bolts which worked real well. Then it took me about another two days for paiting because of the the red and blue swirls I put on it. I waited impatiently until I was able to go to the ROC launch. My uncle never had enough time to go until we planned to meet each other at the recent April launch. I brought my IO to the launch. I decided that I would fly it on an Aerotech G40-10 which was a pretty good choice. My uncle taught me that I should place some baby powder into the body before I packed the chute. This made it smoother for the piston to come out better. As I packed the chute I started to get butterflies in my stomach. I approached my pad and my uncle taught me how to place the igniter in. As everything was being set up my uncle told me to place a block under one of the legs to the launch pad. This turned out to be not such a good idea because the legs were not even. As I heard the announcer give the count down I got real nervous. Once I saw the flicker of flame begin to increase, I held my breath. As I watched my rocket beginning to fly perfectly straight but at an angle I knew I was going to do a lot of walking. The rocket did a nice gentle landing to the ground and I was able to stop holding my breath. I began my journey to the rocket and when I reached it, I was glad to see no damage. So if I was to give this rocket a score from 1-10, I would give it a 10 because it is inexpensive, great for high power beginners, easy to build, has great instructions, and flies very straight.